Blog home / Foot care tips: How to prevent blisters on a hike
The last thing you need on a long hike or multi-day trek are blisters, but often all it takes is a little preparation to keep your feet stress-free! Here are some helpful ways to make your next outdoor adventure a comfortable one.
Why do I get blisters?
Blisters form when there is too much friction between your foot and your hiking boots. Blisters most commonly appear on your heels or around your toes, but they can appear anywhere on your body if the activity is repetitive enough and creates friction against your skin.
On multi-day treks, blisters can make or break your experience, so to ensure your feet are healthy, comfortable and blister-free, we recommend using the following techniques to prevent and treat forming hot spots.
Top blister prevention tips for happy hiking feet
QUICK SUMMARY: How to avoid getting blisters
• Properly fitted and worn in shoes – if they are too tight or too loose they will often cause issues. If your boots are new, make sure you've broken into them long enough.
• Quality socks are essential – many trekkers prefer to wear a liner sock under a heavier hiking sock to wick moisture and keep the foot dry. Try a merino wool or polypropylene liner in cold conditions or a Coolmax liner for warm to hot conditions.
• Keep your feet dry – using foot powder with the right sock can really help prevent moisture from gathering.
• Lubricate your feet – Body Glide is great for reducing friction. Many runners and walkers use this lubricant on their feet as well as other friction points on their bodies to prevent chafing.
• Blister blocks and second skin – if you have ‘hot spots’ that are prone to blisters, try applying these items prior to your walk. They can also be used for protection and cushioning after a blister has formed.
• Wrapping and taping – tape any pressure points or hot spots each day with athletic tape or moleskin. Make sure there are no wrinkles in the tape that might rub.
Your hiking boots
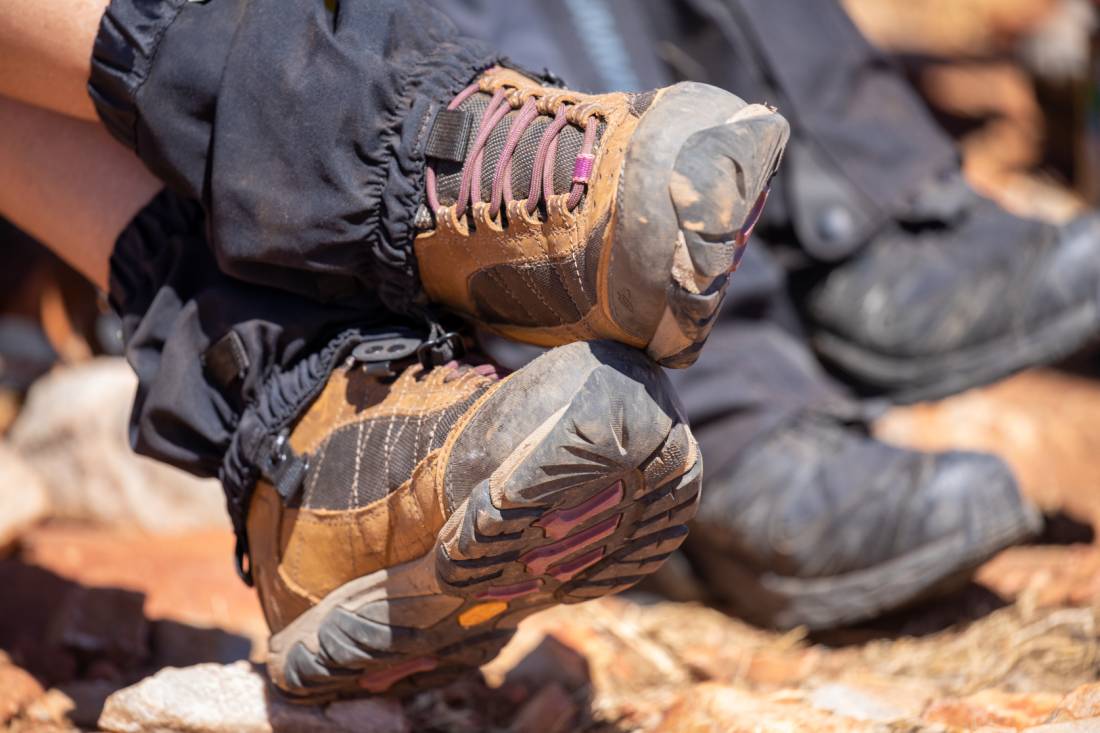
Your hiking boots are the most important tool in preventing blisters – they could make or break your walking holiday! Firstly, make sure your boots are the right size and fit you well – sounds simple, but if you feel your boots pinch your toes together uncomfortably, they may be too small for you and your likelihood of blisters is almost guaranteed.
At the same time, a pair of hiking boots that are too big for you will make your feet move around loosely in the boots, creating unnecessary friction and consequently, increase the likelihood of blisters. Read our blog on how to find the right hiking boots for more helpful tips.

A well-fitting pair of hiking boots will leave enough space for your toes, even when descending a steep hill. They will, however, hold your heels securely in place, which will prevent any heel blisters from forming.
Once you have a pair of well-fitting boots, you need to ensure they have been broken in before you start your hike. If not, the stiffness of a new set of boots can create unnecessary pressure on certain parts of your feet and cause blisters. Breaking your hiking boots in slowly will make their sole more flexible and mould the inside of the shoes to your feet, helping create the perfect fit for your foot.
No other piece of equipment can impact your enjoyment of your trek more than your boots, so investing in comfortable trekking boots is highly recommended.
We advise going to a gear shop to be fitted by an expert who will talk you through the range of boots on offer and find the best boot to suit your foot type.
Once you’ve bought your boots make sure you wear them as much as possible! They might feel a bit uncomfortable and stiff at first, but the more you wear them, the more they will mould to your foot shape. Start with short walks and build up to longer ones. It might take some time to wear them in, but it's better you get blisters now rather than on your trip.
Your socks
Now you’ve got your boots sorted, the next thing to look at is your socks.
Hiking socks are usually thicker in certain areas, such as the heel and the ball of the foot, to reduce friction against your skin and provide padding between your trekking boots and your feet.
Avoid cotton socks, as they tend to absorb your sweat and hold the moisture, while the bunched up fabric will rub against your skin and create blisters.
Hiking socks are designed to transport moisture from your foot, through the socks and into the material of your hiking boots. If you have a breathable pair of hiking boots, these will then transport the moisture out of the boot and leave your feet dry and comfortable, with a low risk of blisters.
Wearing two pairs of socks is another way to reduce friction and minimize the likelihood of blisters forming; we recommend very thin synthetic socks closest to your skin with regular hiking socks worn on top. The theory is that the socks will absorb any friction. There are socks specifically designed for this purpose and, if you are susceptible to blisters, it’s worth trying this method.
On the trail
There are a few things you can do to prevent blisters before you start your hiking adventure. If you already know of any problem areas that are likely to form blisters, tape them before you start to reduce friction. If you start feeling any of these hotspots getting uncomfortable, tend to them immediately to prevent blisters from forming. You can do this by taping them with moleskin, bandages, medical leukotape or even duct tape.

Alternatively, if none of these methods are available to you, simply take a break and take your shoes and socks off for a while to let your feet air out and give your feet a well-earned rest. If your feet get wet or sweaty enough to soak your socks, this is a good time to air them out.
Moisture creates more friction and favourable conditions for blisters to form.
When putting your shoes back on, make sure you tie them properly in a way that relieves the hotspots from pressure or friction. Another way of avoiding wet feet is changing your socks regularly throughout the day; your dry, blister-free feet will thank you later.
How to treat blisters
Notify your guides
Our guides are trained on how to best treat blisters to reduce physical discomfort while on a trek. If you feel a blister forming be sure to notify your guides the moment you notice it. Early treatment is best made for a more enjoyable walking adventure.
Treating your blisters yourself
Try to avoid creating any more friction on the affected spot by covering the area with an extra layer between your skin and your boots. You can use normal plasters, gauze or special blister plasters.
If your blister has popped, it's important to protect the blister from infection, so apply a disinfectant cream to the area and cover it with a plaster to prevent dirt and sweat from touching the sore.
Should I pop a blister?
Popping a blister is a controversial topic. Small blisters, which are not painful, should usually not be drained. The intact skin on them protects them best from infection.
How to drain a blister
Draining a blister that is larger and painful can reduce the pain but increase the risk of infection. If you decide to drain a blister, wash the blister and surrounding area thoroughly first. Sterilize your needle with heat or alcohol. Insert the needle near the base of the blister. Dress the blister like any other wound to keep it clean.
Whilst a trek may seem daunting – particularly if it’s your first time, if you take the time to prepare yourself mentally and physically, you’ll be well on your way to being ready to take on the challenge. Following these tips will hopefully help you avoid blisters and make the most of your next walking adventure. Good luck on the trails!
Have tips of your own to share? Let us know in the comments below.